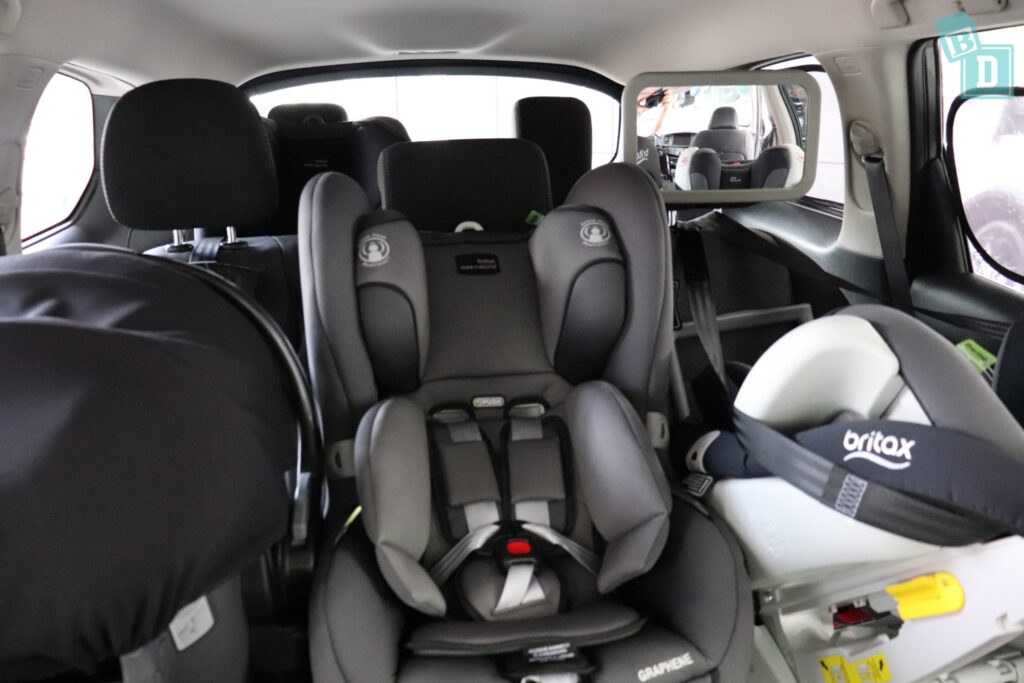
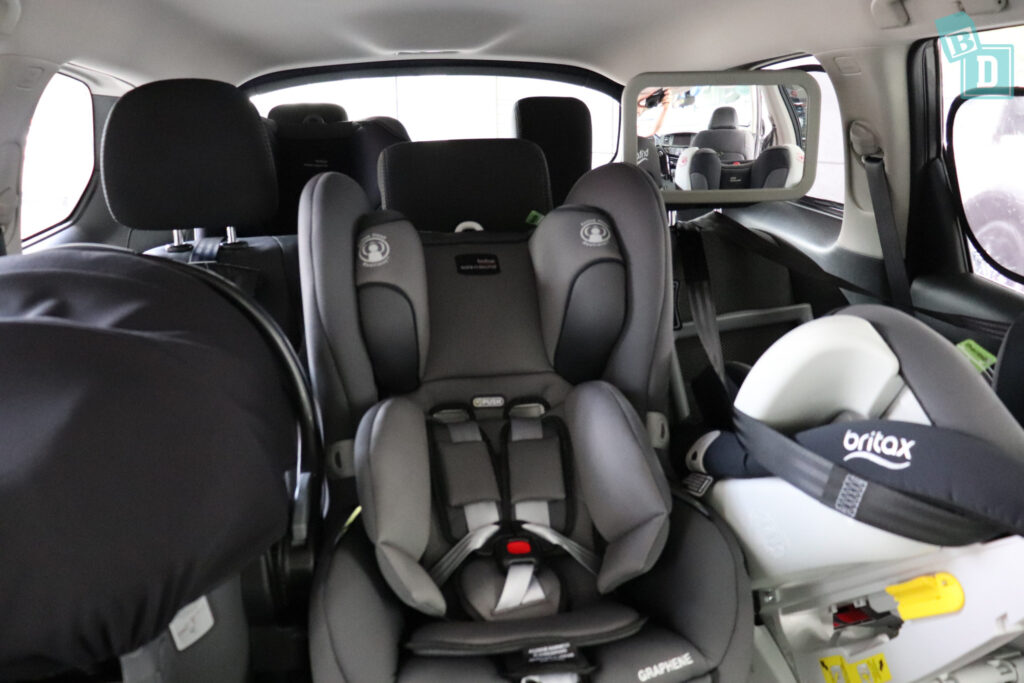
Here's the tip that fixes most bad installs: before you pull the tightening strap, put one knee in the car seat and lean your weight into it. That small move takes out the slack that hand-tightening leaves behind. This guide from Riverhead Nissan in Riverhead walks you through installation in the order that matters. It starts with the mistake technicians see most and ends with what a professional check costs and when to book one.
Step 1: Avoid the Most Common Mistake
A loose installation is the error technicians catch more than any other. It can look solid while still sliding side to side. That slack lets the seat move in a crash before it starts protecting your child.
Here's the test. Grip the seat at the belt path, where the anchor strap or seat belt passes through it, and tug side to side and front to back. If it moves more than one inch, it's too loose. Don't test at the top of the seat, because that end is supposed to have some give.
To get it tight:
- Put one knee in the seat and press down with your weight.
- Pull the tightening strap or belt tail while you're still pushing.
- Feed slack back toward the adjuster or retractor as you go.
- Run the inch test again before you call it done.
Still can't get it under an inch? The cause is usually the seating position, the recline angle, or a seat belt that isn't locked. Work through the next steps in order instead of cranking harder.
Step 2: Read Both Manuals and Pick a Seat
Two booklets matter here: the one that came with the car seat and your vehicle's owner's manual. The seat manual explains its belt paths, recline settings and limits. Your owner's manual shows where the lower anchors and tether anchors are, and which seating positions can use them.
Next, choose a position. The center of the back seat is farthest from a side impact, so it's a good choice if you can get a tight fit there. Many vehicles don't have dedicated lower anchors in the middle, though. A solid install on a side seat beats a sloppy one in the center.
A few hard rules:
- Never put a rear-facing seat in front of an active front airbag.
- Keep children in the back seat until age 13. That's the standard safety recommendation.
- Don't borrow anchors from neighboring seats unless your owner's manual allows it, and most don't.
Lost your owner's manual? Most automakers post them online, and a dealership parts department can often help you find a printed copy.
Step 3: Choose Lower Anchors or the Seat Belt
You have two ways to attach the seat. Both are equally safe when done right, so pick one. Don't use the lower anchors and the seat belt together unless your car seat manual specifically allows it.
Using lower anchors
Clip the seat's connectors onto the metal bars tucked in the seat crease and listen for the click. Then tighten the strap using the knee method from Step 1. Lower anchors have a weight limit that counts your child plus the seat itself. Your car seat label tells you when to switch to the seat belt, and kids often reach that point sooner than parents expect.
Using the seat belt
Route the belt through the correct path. Rear-facing and forward-facing paths are different and clearly marked on the seat. Then lock the belt. In most newer vehicles, you lock it by pulling the belt all the way out and letting it feed back in, and you'll hear a ratcheting sound. Many car seats also have a built-in lock-off that clamps the belt instead. An unlocked belt is a common reason a seat fails the inch test, so confirm it's locked before you tighten.
Step 4: Set the Direction and Angle
Keep your child rear-facing as long as possible, until they reach the rear-facing height or weight limit on their seat. Rear-facing spreads crash forces across the back, neck and head. That matters most for young children whose spines are still developing. Bent legs touching the vehicle seat are fine and aren't a reason to turn them around.
For rear-facing seats, the angle is critical. Infants need enough recline to keep their airway open. Park on level ground and check the indicator on the side of the seat, which may be a bubble, line or dial. If the built-in recline foot can't get you there, some manuals allow a tightly rolled towel or pool noodle under the base. Only use one if your manual says so.
Once your child moves to forward-facing, always connect the top tether. It's the strap at the top back of the seat, and it hooks to an anchor that may be on the vehicle's seatback, rear shelf or cargo floor. Your owner's manual shows the exact spot. The tether keeps the seat from pitching forward and limits how far your child's head travels in a crash. Snug it down after the seat itself is tight.
Step 5: Buckle Your Child In Correctly
A perfect install doesn't help if the harness is loose. Run through this check on every ride:
- Strap height: rear-facing, the harness should come from slots at or just below the shoulders. Forward-facing, it should come from at or just above them.
- Pinch test: after tightening, try to pinch a fold of strap at your child's collarbone. If you can grab any webbing, tighten more.
- Chest clip: slide it up to armpit level. If it sits too low, it can't keep the straps on the shoulders.
- Buckle: tug each strap to confirm both tongues are latched.
Skip the puffy coat. Bulky jackets and snowsuits compress in a crash, which leaves the harness far looser than it felt. On cold Long Island mornings, buckle your child in regular clothes. Then lay the coat or a blanket over them, on top of the straps.
Avoid add-ons that didn't come in the box, such as strap covers, head inserts or seat protectors. They haven't been crash-tested with your seat and can change how it performs.
Step 6: Recheck, Register and Replace
Installs loosen over time. Redo the inch test every few weeks, and again whenever the seat has been removed, the car has been cleaned, or someone else has moved it. Twisted straps and belts that have crept loose are easy to miss when you're rushing.
Register your car seat with the manufacturer, using the card in the box or the brand's website, so you'll hear about recalls. You can also search NHTSA's recall database with the model number and manufacture date printed on the seat's label.
Replace the seat when:
- It passes the expiration date stamped on the shell or label.
- It's been in a moderate or severe crash. Some brands want it replaced after any crash, so check your manual.
- You don't know its history, as with a secondhand seat from a stranger.
- Parts are missing, cracked or bent.
Your vehicle matters too. Have it inspected if a seat belt won't lock or retract, or if a tether anchor looks damaged. Riverhead Nissan offers online scheduling, so you can book service without calling around.
Step 7: Cost and Timing
The best final step usually costs nothing: a check by a certified child passenger safety technician. These technicians are trained to spot problems parents miss, and many inspection stations offer appointments free of charge. You can find one through NHTSA's inspection station locator or Safe Kids Worldwide. Bring the car seat, its manual and your vehicle. A good technician will teach you to install it yourself rather than just doing it for you.
For timing:
- Install an infant seat a few weeks before your due date, then get it checked. Appointments can fill up.
- Book another check when you switch to a convertible seat, turn forward-facing or move to a booster.
- Recheck whenever you change vehicles.
That last point is worth planning for if you're shopping. Car seat fit varies a lot between vehicles, especially for rear-facing seats in a tighter back seat. If you're browsing new Nissan inventory, bring your car seat on the test drive and install it in the back. A few minutes in the lot will tell you more than any brochure.
Riverhead, NY
- If the seat moves more than an inch at the belt path, it's too loose. Press your weight into it while you tighten.
- Use the lower anchors or the seat belt, not both, and always connect the top tether once your child faces forward.
- Book a free check with a certified child passenger safety technician a few weeks before you need the seat.
FAQ Common questionsHow do I know if my car seat is tight enough?Grab the seat where the belt or anchor strap passes through it and tug side to side and front to back. Movement of less than an inch means it's tight enough. Test at the belt path, not the top of the seat. Is LATCH safer than using the seat belt?No. Both are equally safe when installed correctly. Use whichever gives you a tight fit in your vehicle, and switch to the seat belt once your child plus the seat reaches the lower anchor limit on the car seat label. When can my child face forward?Wait until they reach the top rear-facing height or weight limit for their seat, not just a certain age. Many children can stay rear-facing well past their second birthday. Once they turn around, always use the top tether. Can I use a secondhand car seat?Only if you know its full history. That means no crash damage, no missing parts and no recalls, with an expiration date still ahead. A seat from a family member you trust is very different from one bought from a stranger or at a yard sale. Do car seats really expire?Yes. Plastic weakens with age, heat and sunlight, and safety standards change over time. Look for the expiration date stamped on the shell or printed on the label, and stop using the seat once it passes that date. |
Want to see it in person? Browse what is on the lot right now, or come by and see it in person. Or call (631) 369-0600 · 1800 Old Country Rd, Riverhead |